
Western North Carolina’s mountain streams have sustained traditional fishing practices for thousands of years. The Cherokee developed sophisticated methods using handmade gear, natural baits, and deep ecological knowledge that modern practitioners can learn today. These time-tested techniques work consistently for long-term food security, from crafting hooks from bone and thorns to reading water like ancient texts. Brook trout, rainbow trout, and smallmouth bass respond to seasonal patterns that wilderness anglers can exploit with patient observation and traditional skills.
Read MoreHow To
The Mushroom That Looks Like a Brain and Tastes Like Crab: Foraging Lion’s Mane in Western North Carolina

Lion’s mane mushrooms appear in North Carolina’s hardwood forests from late summer through fall. This guide covers where to find them, how to harvest them legally, and how to cook them once you do.
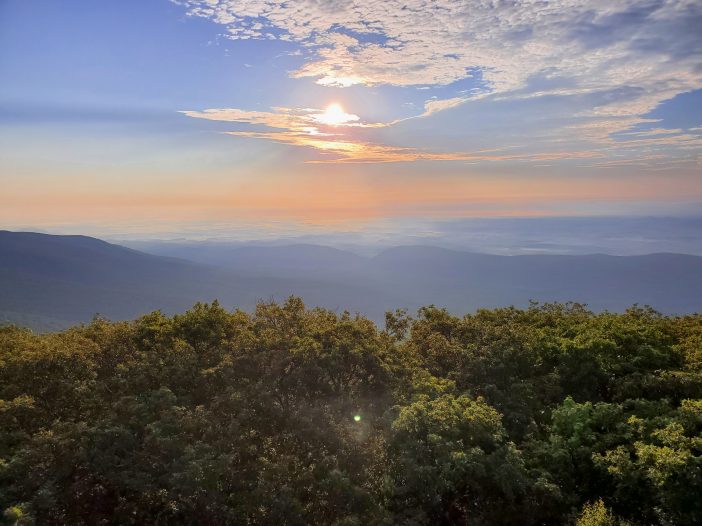
Read MoreSolo Backpacking in Western NC: Trails, Gear, and Safety for First-Timers

Thinking about going on your first solo backpacking trip? This guide breaks down everything you need to know from choosing beginner-friendly trails in Western North Carolina to essential gear, safety tips, and mental prep. Whether you’re craving solitude, challenge, or a fresh start, solo backpacking offers a unique chance to reconnect with yourself and the natural world.
Read MoreWalking Lightly: The Principles and Practice of Leave No Trace

Hey nature lovers! We’re about to embark on a journey together, one that’s all about respect, care, and love for the world around us. It’s a journey that begins and ends with a simple principle, “Leave No Trace.” You might have heard about it, or maybe this is your first time. Either way, get ready, […]
Read MoreTrekking Poles: Why You Should Use Them and How to Choose the Right Pair
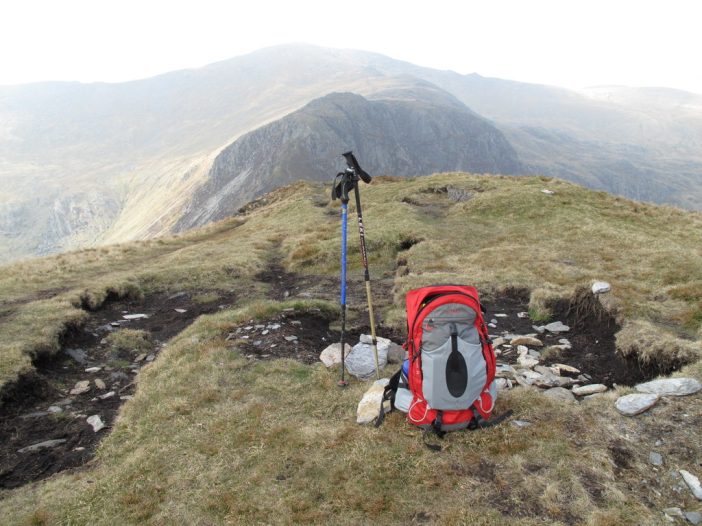
Hey adventurers! As someone who spends countless hours hiking and exploring the great outdoors, I’ve stumbled upon a secret weapon that has significantly enhanced my trekking experience – trekking poles! Now, I know what you’re thinking, “Trekking poles? Aren’t those just for the hardcore mountaineers?” Well, I’m here to tell you that they’re not just […]
Read MoreHow to Choose the Perfect Sleeping Bag: Tips and Picks
Selecting the right sleeping bag is essential for a comfortable night’s sleep in the great outdoors. With so many options available, it can be challenging to decide which one is best suited to your needs. This article will guide you through the process of choosing the perfect sleeping bag by answering common questions and providing […]
Read MoreThe Guide to Finding the Perfect Tent

Hello adventurers! If you’re planning a camping trip, one of the most important gear decisions you’ll have to make is choosing the right tent. The perfect tent for you will depend on several factors, including the size of your group, the season and location of your trip, and your budget. In this post, we’ll go […]
Read MoreExploring the Great Outdoors with Your Dog: A Guide to Backpacking with Your Furry Companion

Backpacking with your dog is an adventure you won’t forget, but it takes planning and preparation to ensure your dog’s safety and comfort. To make your trip successful, you’ll need essential gear, training tips, safety precautions, and solutions to potential problems like waste, sleeping arrangements, and carrying your dog. This article covers everything you need […]
Read MoreThe Ultimate Guide to Free Camping in the US: Where to Find the Best Spots
Boondocking I’m always on the lookout for ways to enjoy the great outdoors without breaking the bank. And one of the best ways to do that is by free camping! In this post, I’ll be sharing my tips and tricks for finding the best free camping spots in the US. From BLM land to National […]
Read MoreFrom Kindling to Ashes: How to Build and Maintain a Safe Campfire for Beginners
Gathering around a campfire with friends and family, roasting marshmallows, and sharing stories creates an unforgettable experience. However, building and maintaining a safe campfire requires knowledge and preparation. In this comprehensive guide, we’ll cover everything you need to know to safely enjoy your next camping trip. Check for Fire Bans Step 1: Check Fire Regulations […]
Read More